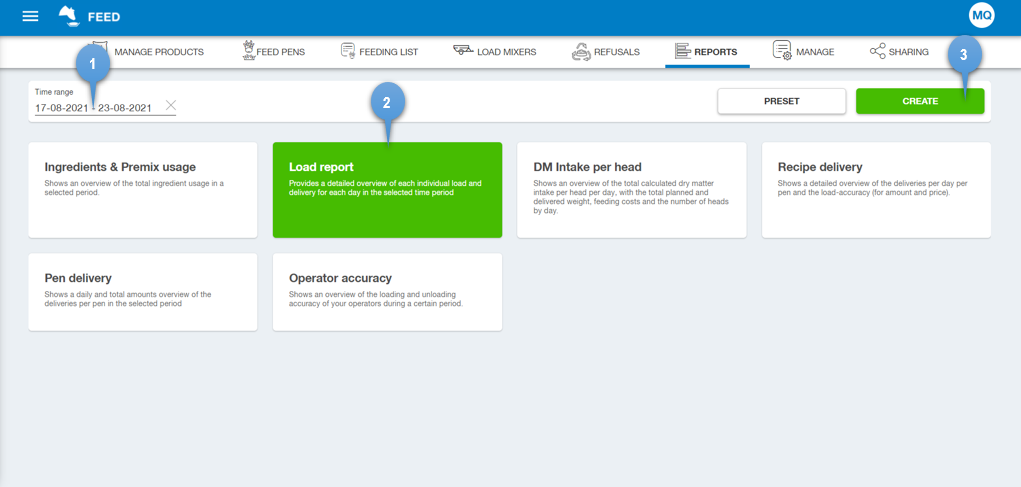
Use this screen to create your reports. TAP FEED has pre-defined reports. Within each report it is possible to set properties and create a preset. The reports 'Dry matter efficiency' and 'Ingredient usage by pen' will be available with TAP FEED Pro.
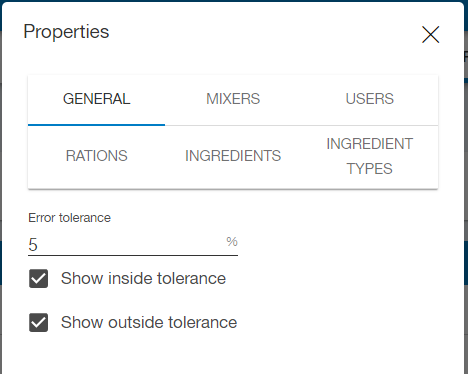
General: Set the desired error tolerance. Ingredients or pens, of which the amounts loaded or fed are outside of the set window, will show in a different color.
Mixer: Filter the report by mixer.
Users: Filter the report by user/feed mixer operator.
Rations: Filter the report by ration.
Ingredients: Filter the report by ingredient.
Ingredient type: Filter the report by ingredient type.
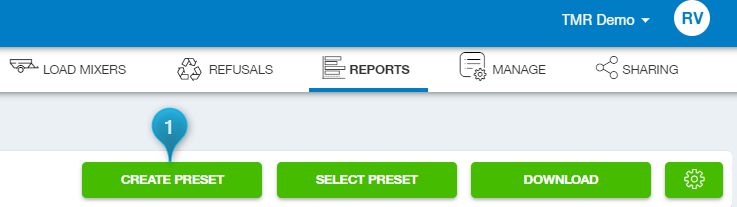
Create a Preset Report:
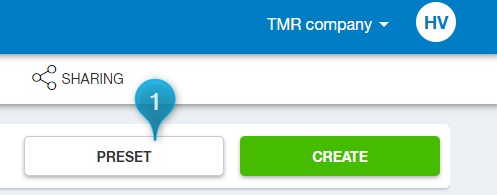
If you want to create a preset report using the selected properties above, click "Create Preset". Give the preset report a name and click "Save"
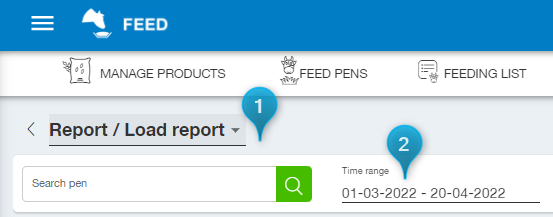
2. When switching between reports, the time range selected remains the same, but other filter applied will not remain.
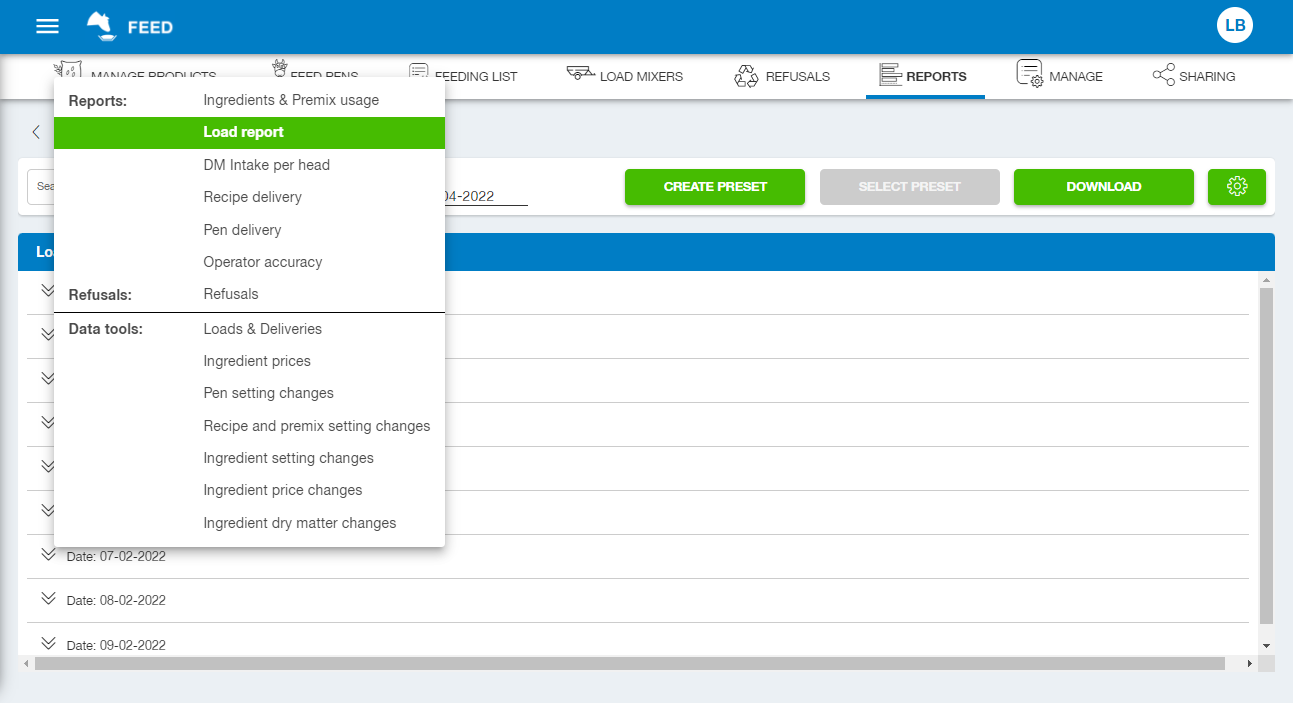
Switch_reports_list.png65.78 KB The drop down list includes both reports, refusals and data tools overviews. When switching between any of these reports, the selected time range remains the same.
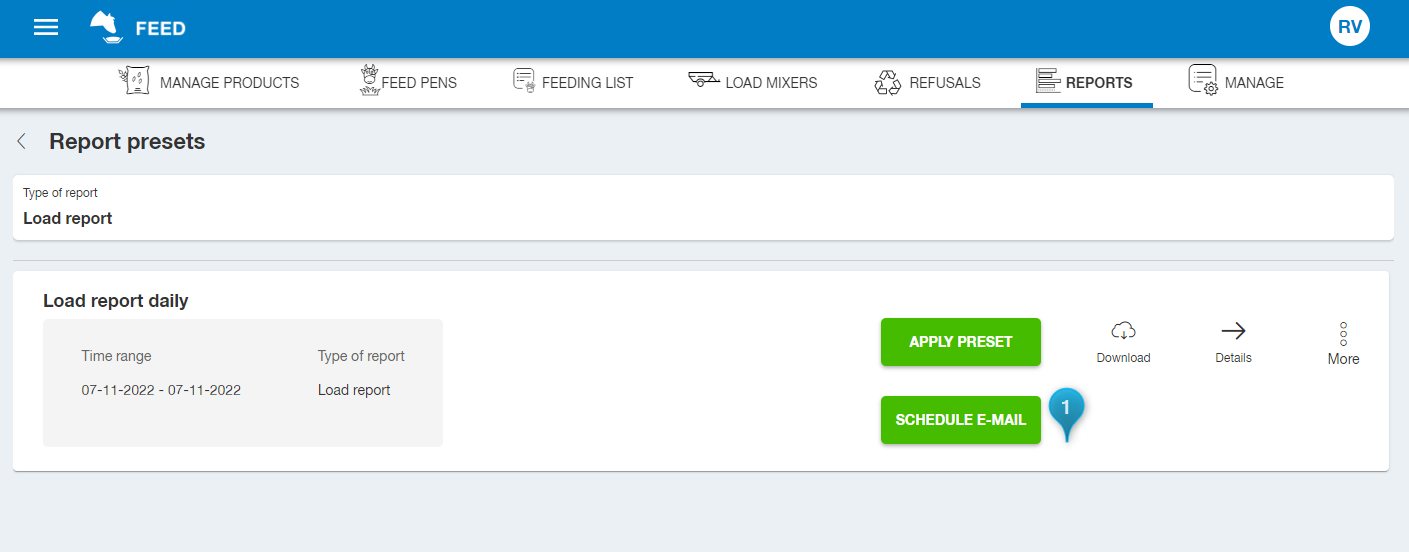
Schedule e-mail With TAP Feed Pro reports can be scheduled to be emailed automatically to either a PDF, XLS or XLSX file type. In order to use the automated reports, you need to create a preset of the report(s) that you want to schedule.
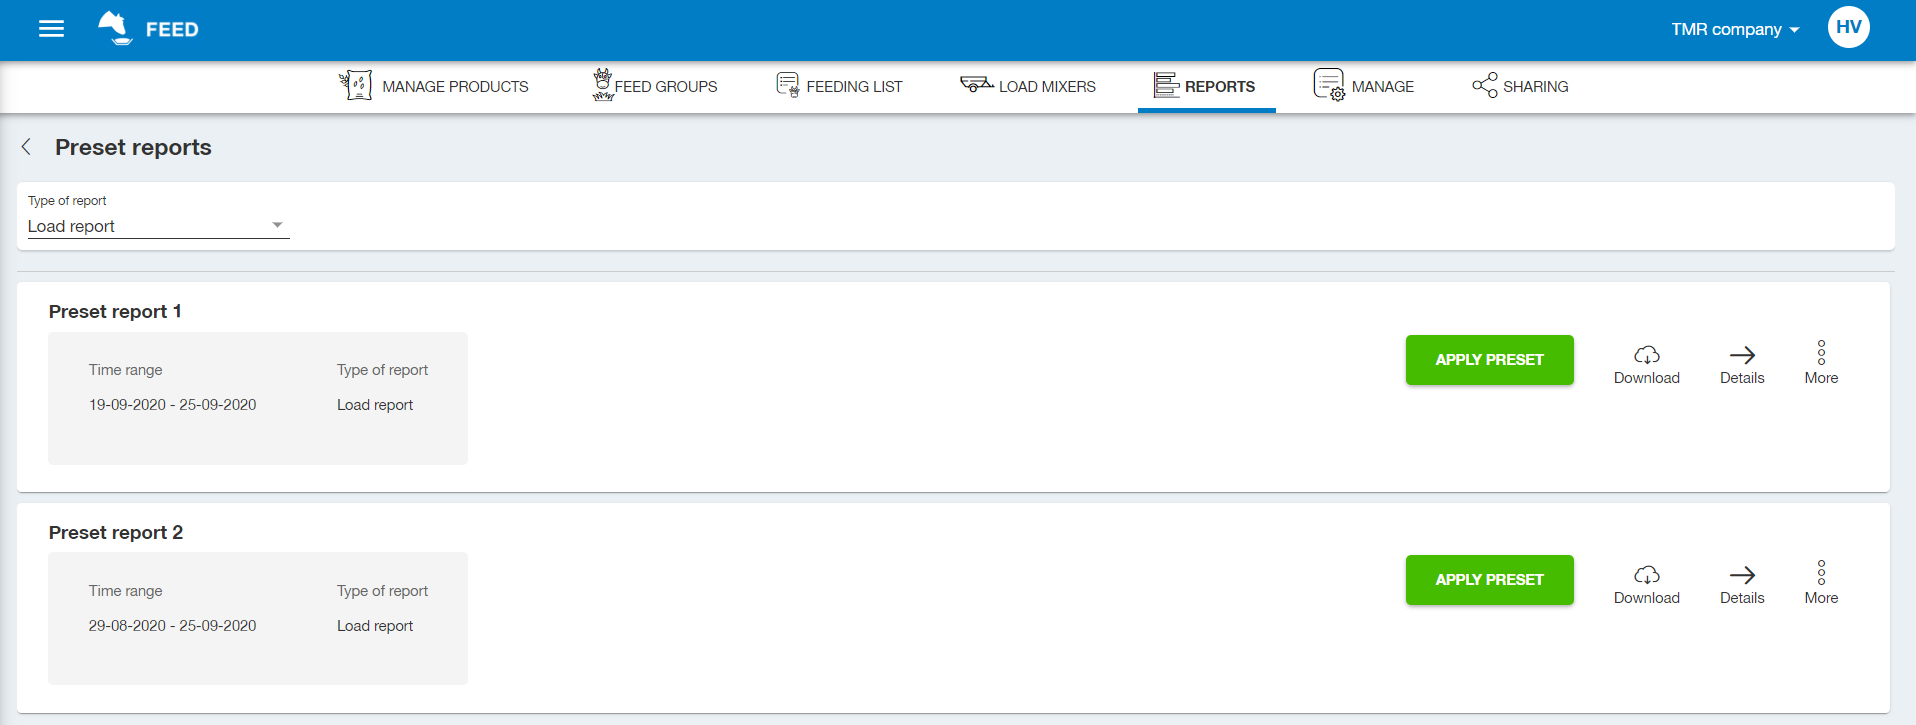
To setup the e-mail schedule for a report, go to the preset overview of the corresponding report. In the example below, we have navigated from the reports overview to the preset overview of the load report:
2. You can either choose a day of the week or a certain day of the month. Tick the boxes for the day you want to schedule an e-mail.
3. Choose if you want to have the report as an PDF, XLS or XLSX file type.
4. Choose which language the report should be in. This can be different than the language you have chosen in TAP FEED.
5. You can choose a TAP user to send the email to. This list will only contain the TAP User available for you own company.
6. If you want to send the report to a supplier or consultant, you have to add them as a contact here and only contacts that have a valid e-mail address can be selected here. Using the green + it is possible to add a contact and after this has been created you can select this from the dropdown.
7. Press ‘SAVE’ to schedule the e-mail
8. For advanced settings as unit and date formats, please see the tab ‘Advanced’.
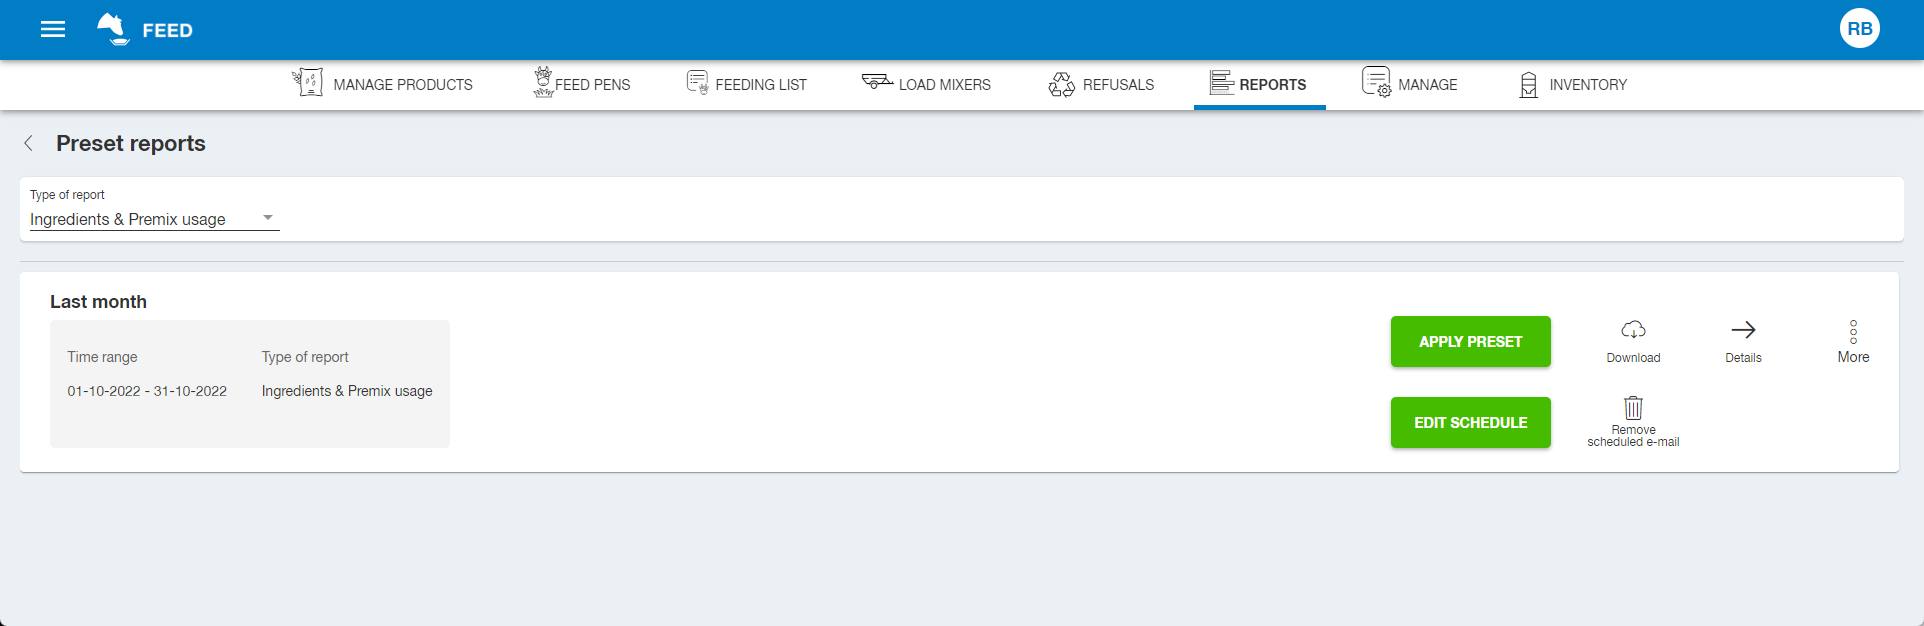
Once the reports is scheduled it is possible to change settings for this scheduled report using the 'Edit schedule' button, or you can remove the scheduled e-mail using the waste bin. Automated_reports_Scheduled.png47.44 KB
E-mail
An e-mail will be sent to the e-mail address selected. The report itself is not attached to the e-mail itself, but can be downloaded using a link inside the e-mail and this link is valid for 10 days. By clicking on this link, the file can be downloaded onto the system of the recipient.
How did we do with this article?
Cookies & Tracking
In order to better understand how this site is used, we're making use of cookies to anonymously track your visit. We're not storing any personal information.


 Cookies & Tracking